VIZRT DESIGN TUTORIAL 2
Part Of A
Here's what's included
Introduction
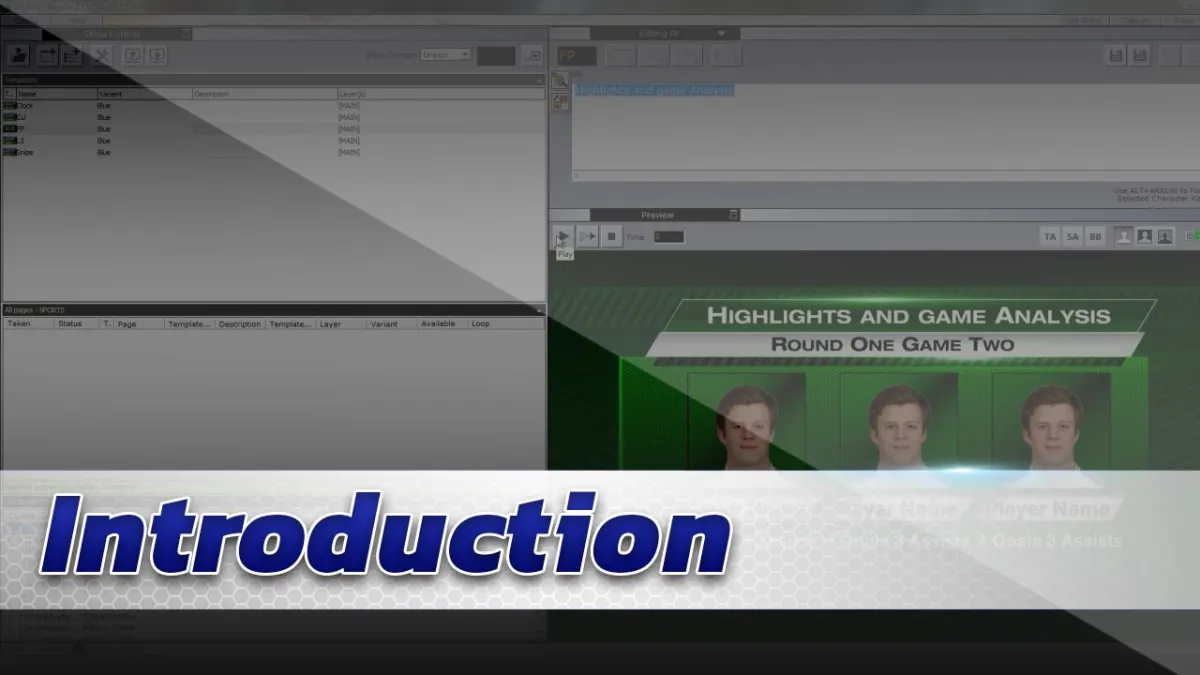
This is an overview of the design tutorial 2. It shows what you will be making and the steps in each process.
Creating Textures
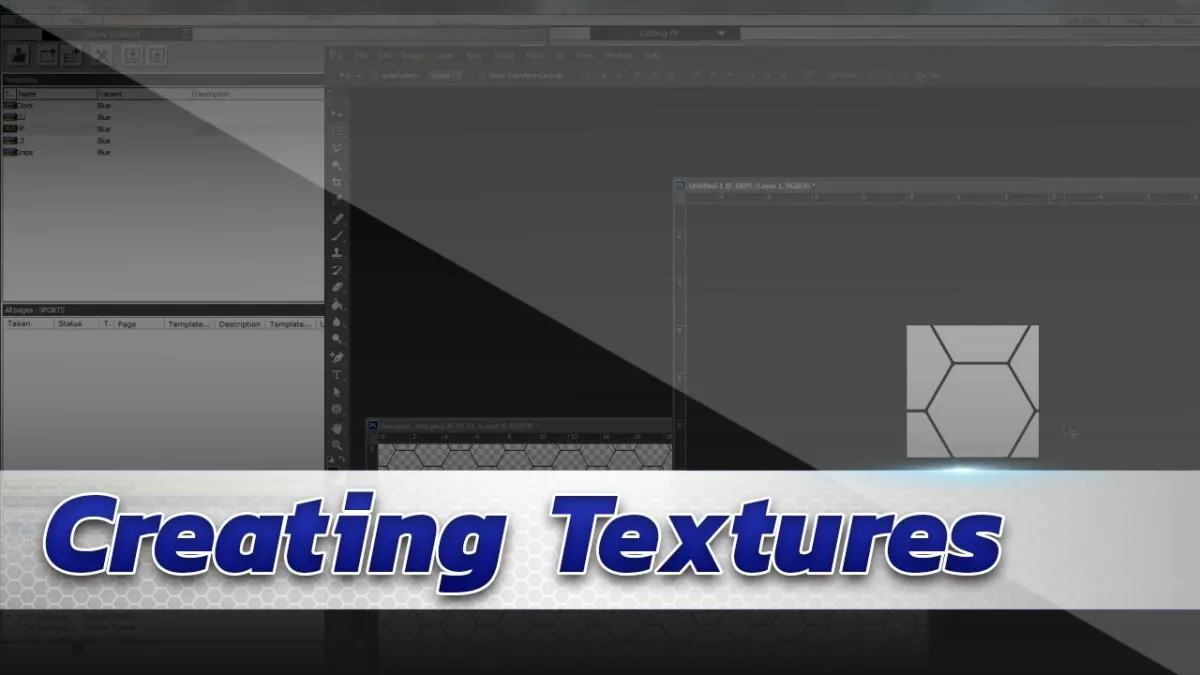
Before beginning the design process we will need some images to use for textures in our scene design. Textures can have a dramatic effect on overall scene design when utilized in different ways. This video shows how to use Photoshop to prepare images to import into Vizrt.
Lower Third Design
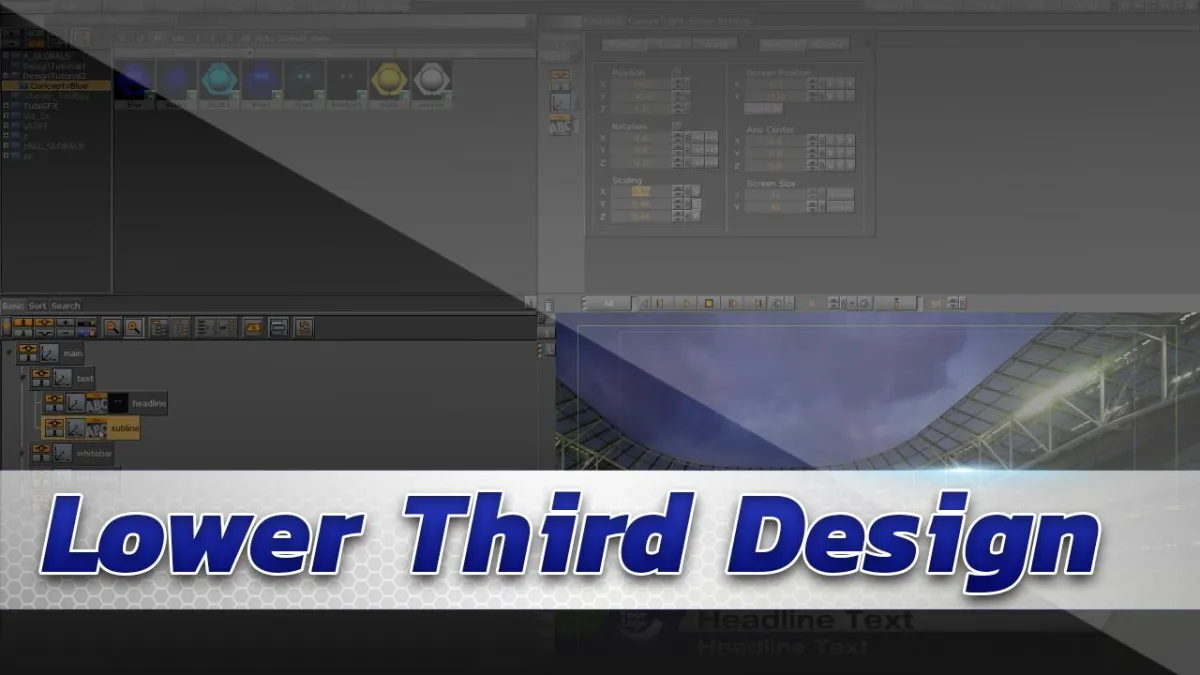
In this video we import the images we made in the last tutorial so we can begin designing our first on air graphic, a lower third. Learn how to work with materials, the Noggi primitive and the Max Size Plugin to build your lower third graphic.
Lower Third Animation
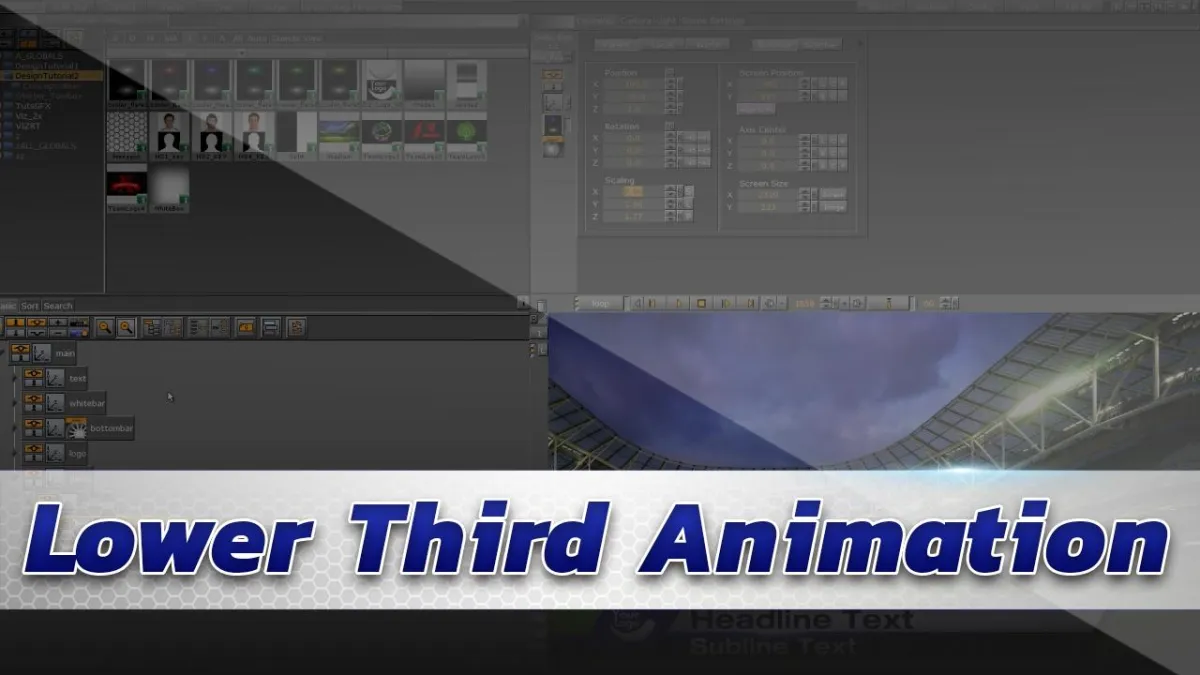
Now that the lower third is designed, it’s time to animate it in and out. This video will show you how to create keyframes, and address working with multiple directors within a scene.
Clock Banner Design
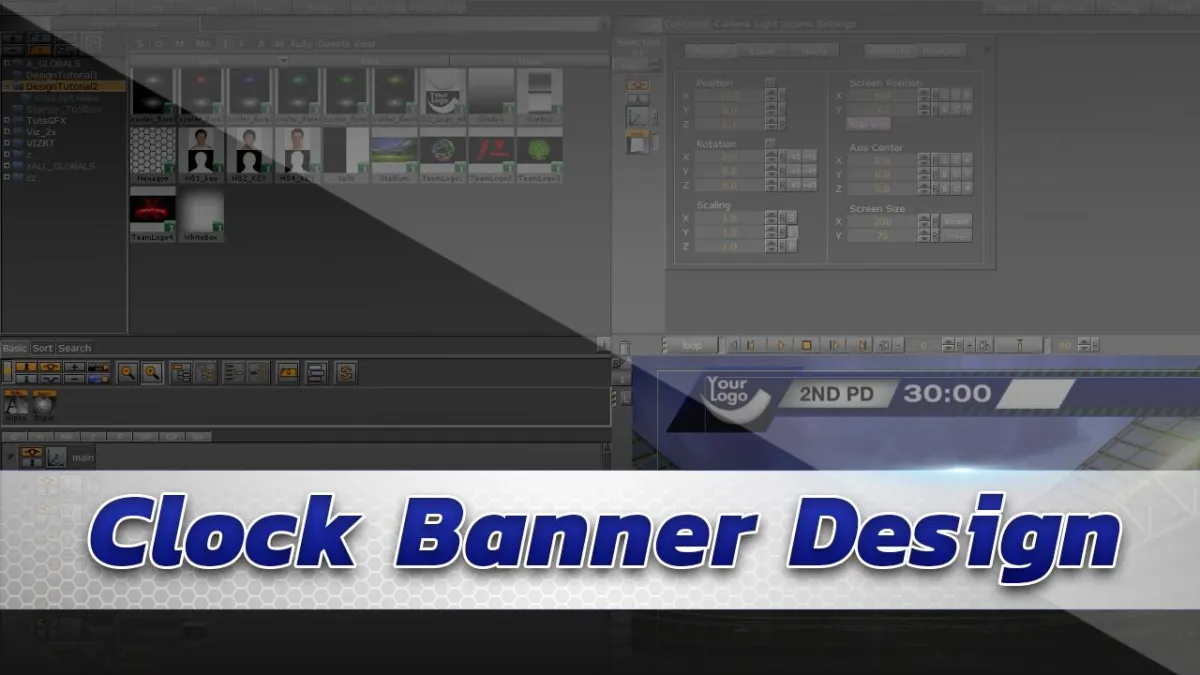
In this video you design a top third graphic that has a count down (or count up) clock. What’s more, the banner will include the ability to swap out logos and score for the home team and visitor team.
Clock Banner Animation
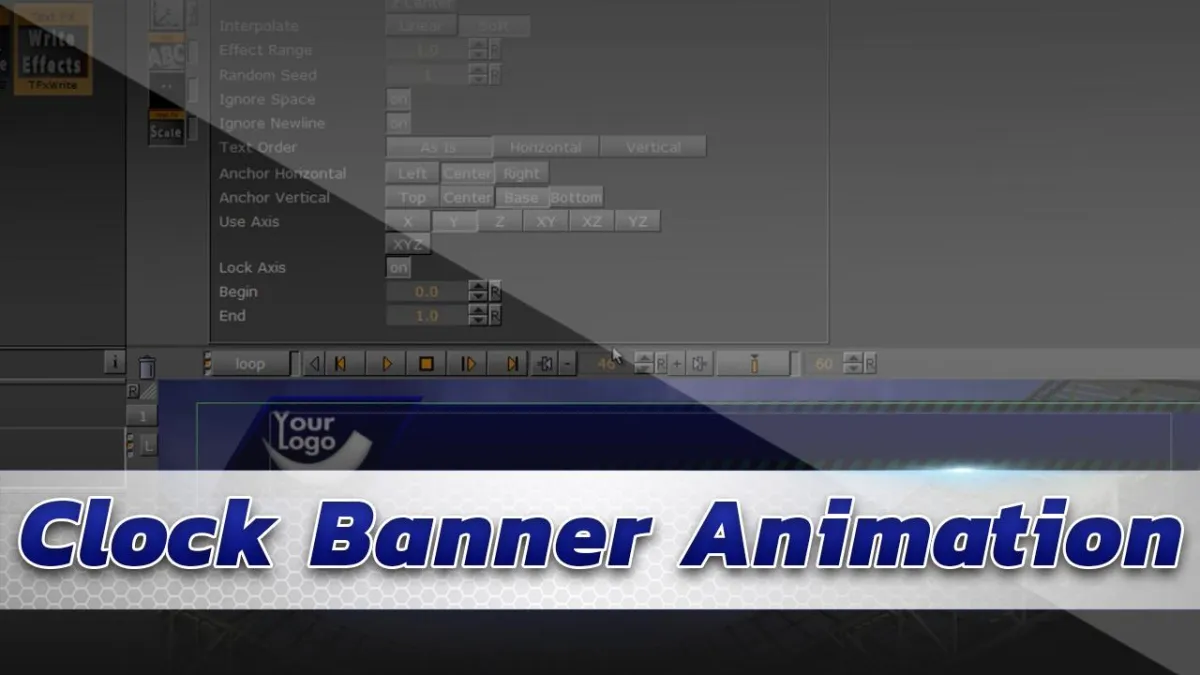
This video animates the clock banner designed in the previous tutorial.
Coming Up Design
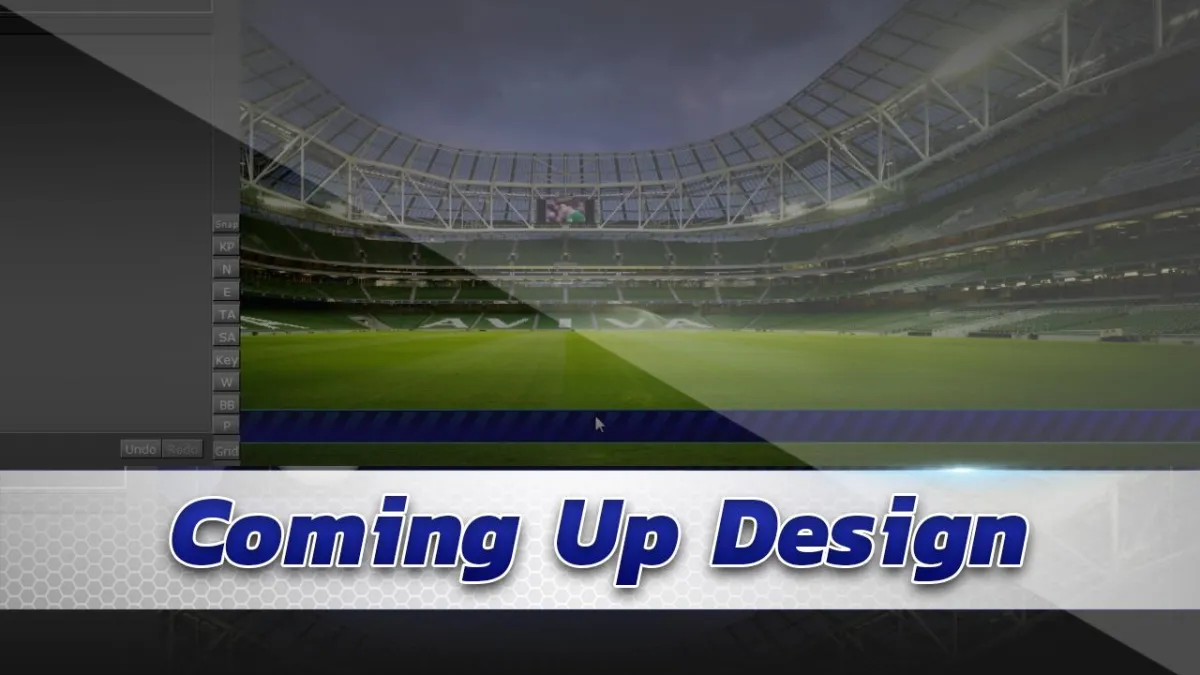
This video demonstrates the design process for a ticker like graphic.
Coming Up Animation
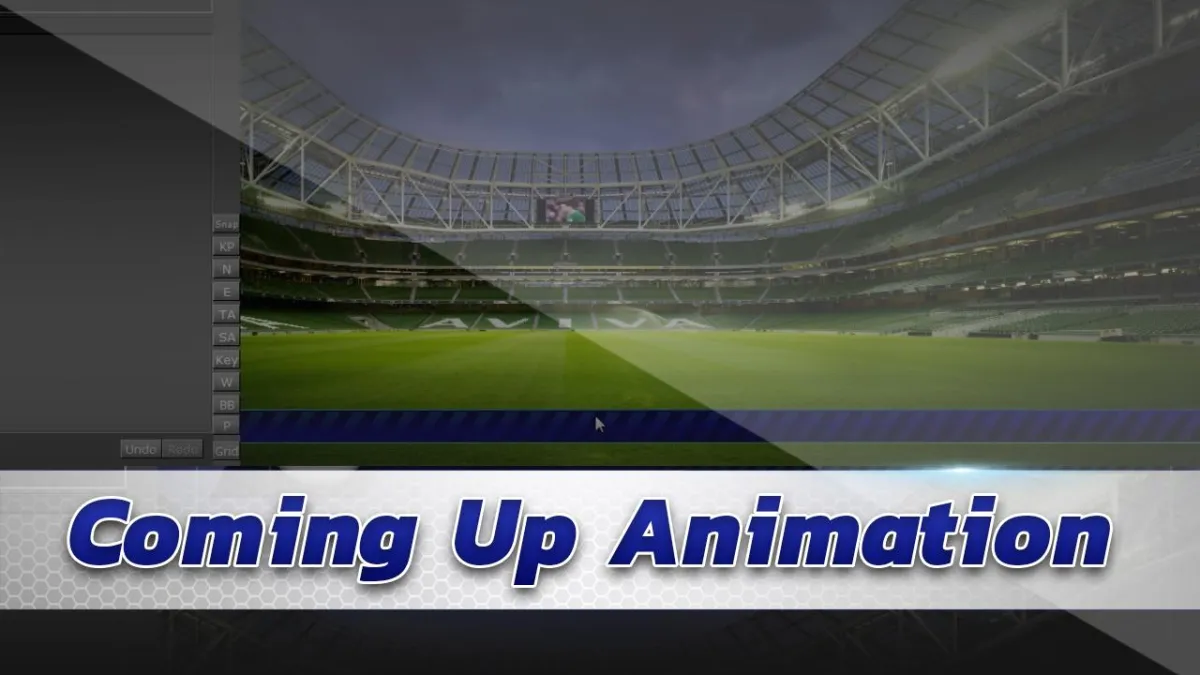
There are going to looping animations in this graphic. This tutorial will demonstrate how to work with multiple directors and stop points.
Full Screen Design
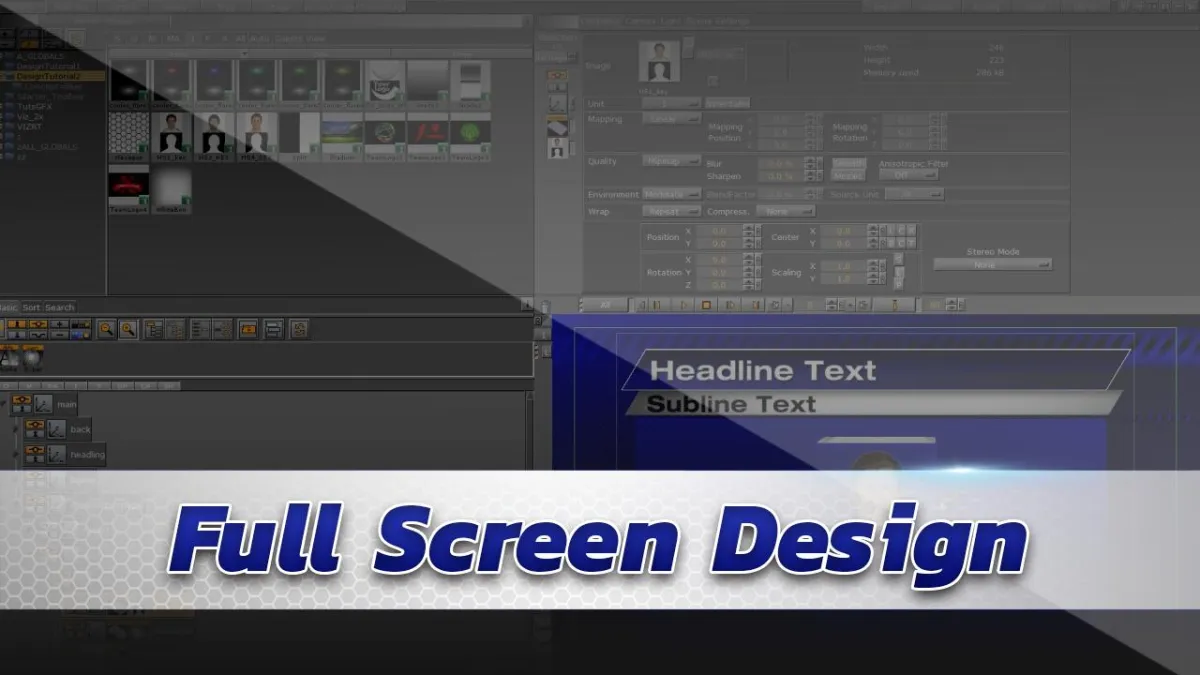
This tutorial for vizrt artist shows how to design a full page graphic from scratch. This full page is going to have a choice for the Trio operator to use a full page text graphic or a headshot graphic. The tutorial demonstrates on of Vizrt Artist’s most versatile plugin, the omo..
Full Screen Rigging
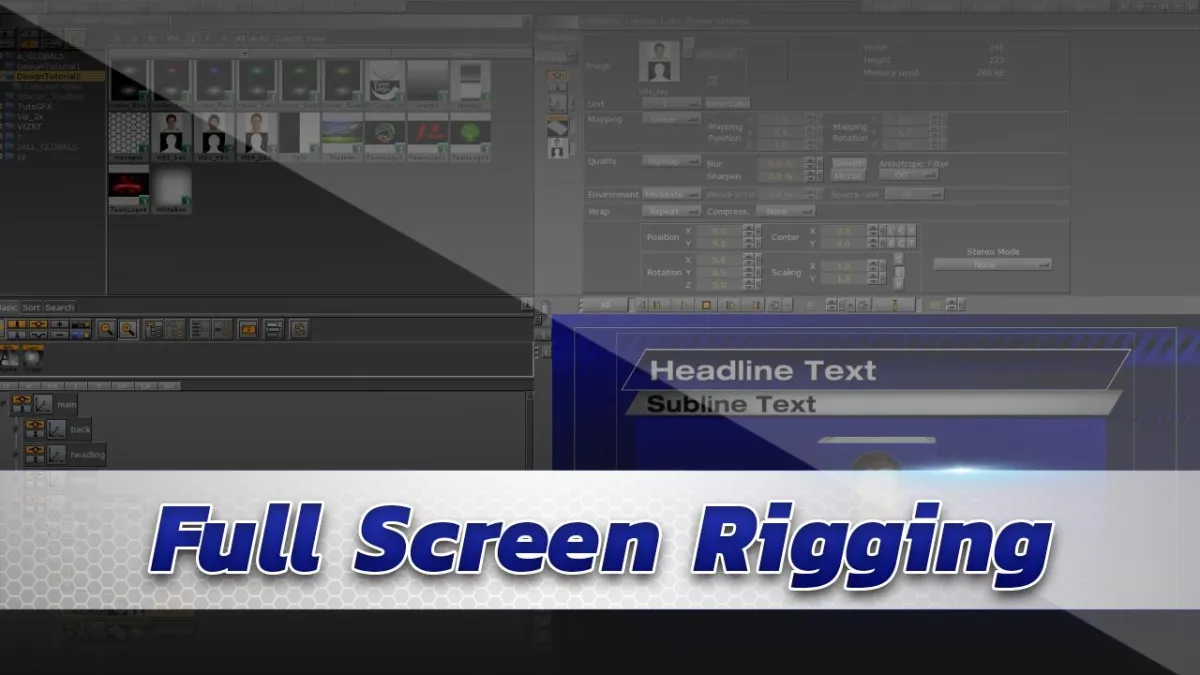
This video demonstrates how to rig the full page for the Trio operator. Using the control plugins, we’ll give the trio operator the choice to switch between a full page text graphic or a head-shot graphic with a choice between 1 and 3 graphics. The graphic is set up to demonstrate the control omo plugin.
Full Screen Animation
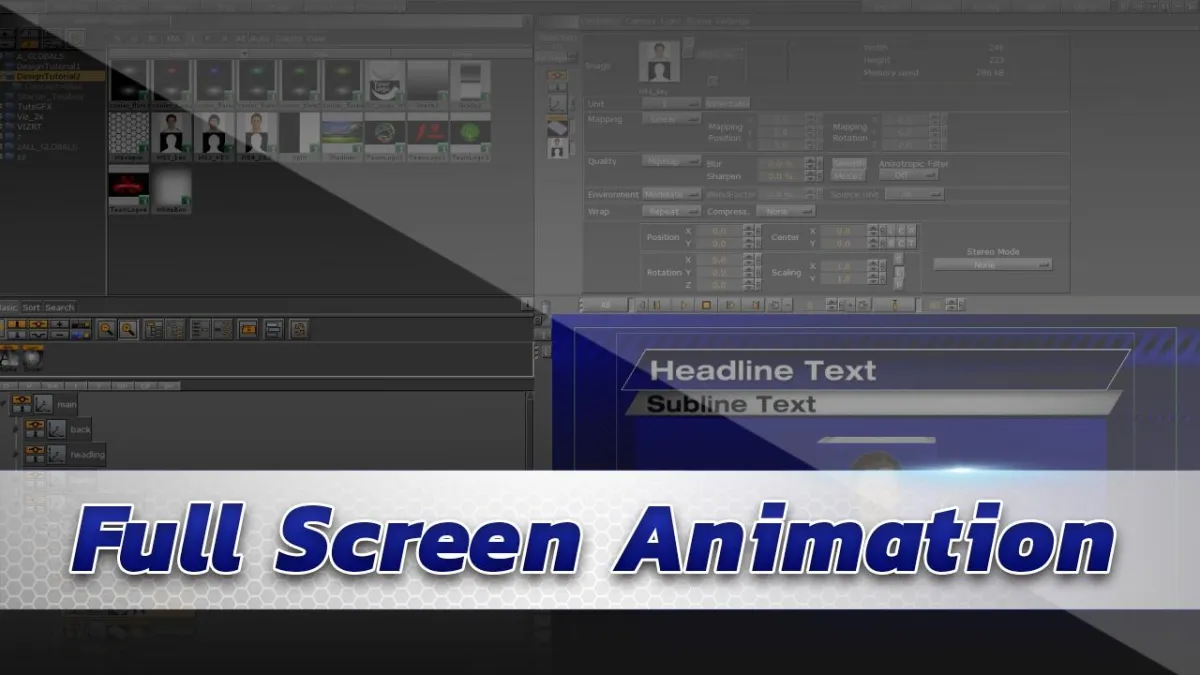
This video shows you how to animate each individual element on in the full page. It addresses keyframes, animation, looping animations, stop points and creating the out animations.
Snipe Design
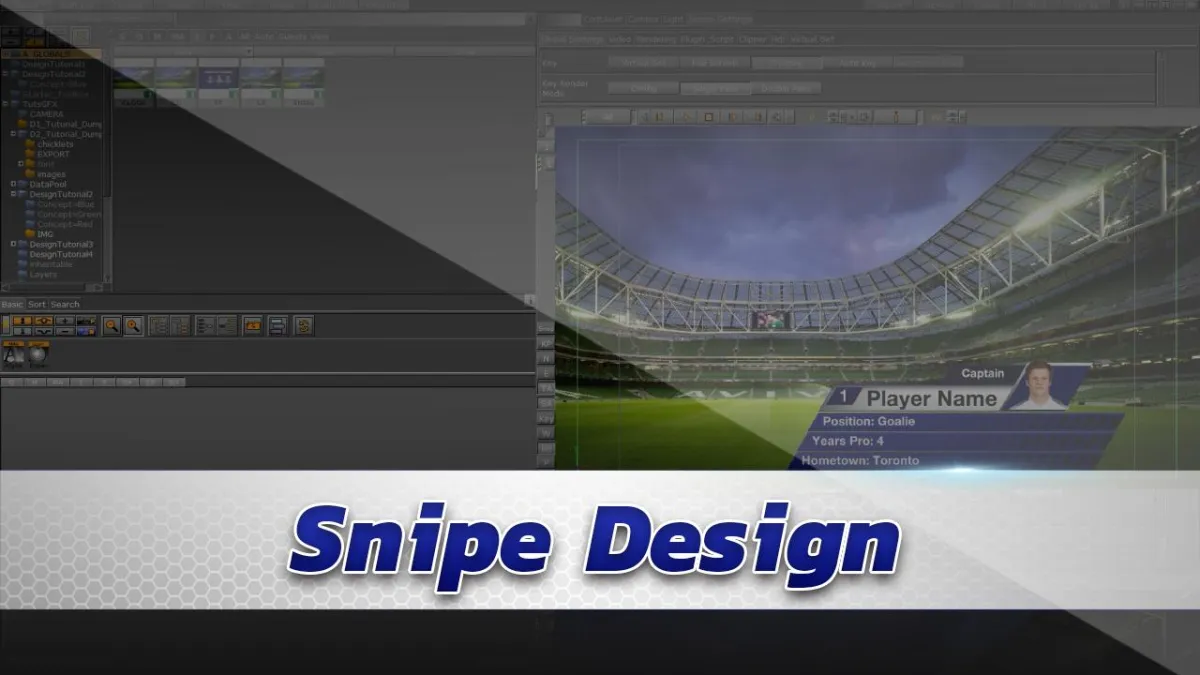
This snipe graphic can be placed anywhere on the screen and can be used for different types of graphic such as a coming up, snipe or player graphic. This tutorial will demonstrate how to build this graphic which gives the Trio operator the ability to change the title, headshot and the choice of 3 additional lines of text.
Snipe Animation
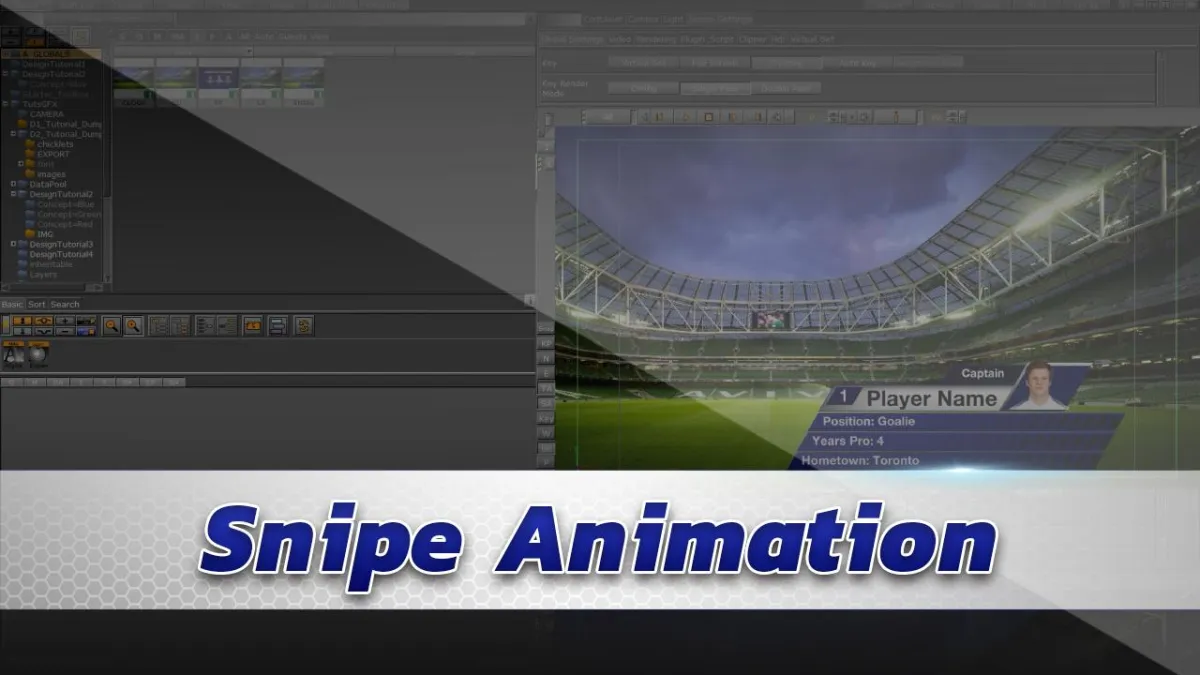
A quick run through of keyframing the graphic we designed in the earlier tutorial.
Adding Flares
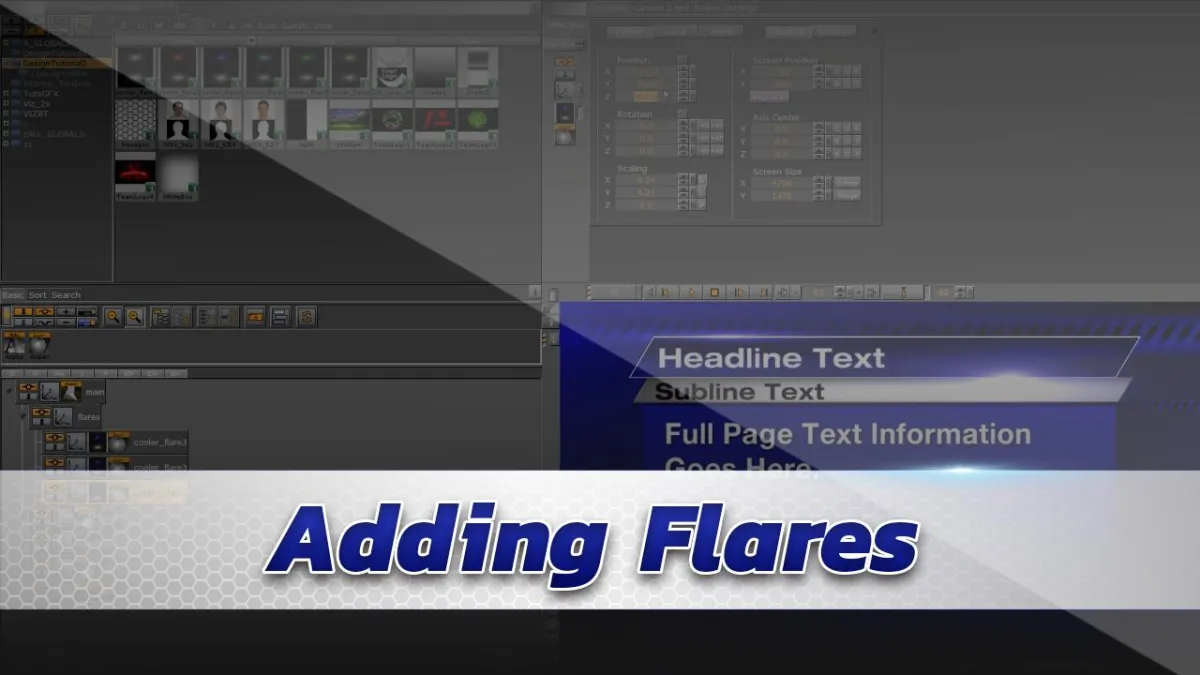
This vizrt artist tutorial will show you how to add some flares to your scenes. The flares will help add extra dimension, depth and pop to your design. This video will show you which plugins to use on the flares to achieve a greater overall look.
Concepts
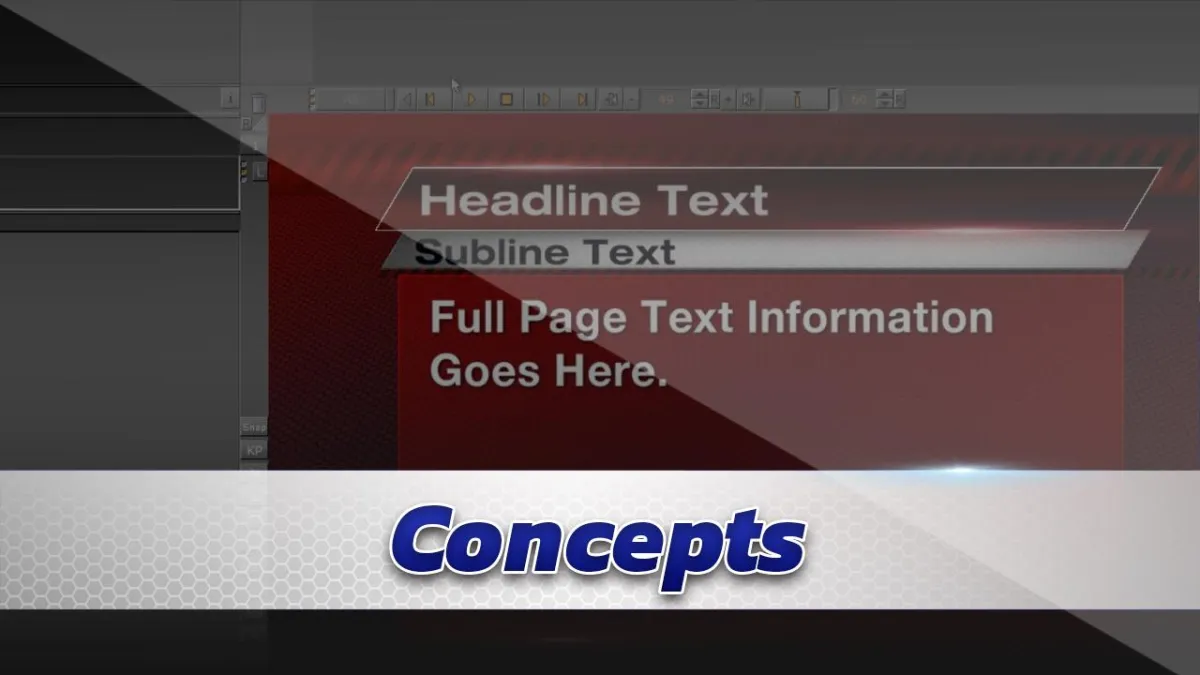
This whole tutorial was set up so you can utilize concepts and variants. In this video we show you how to change the colors of the graphics package so the Trio operator can choose which graphics package they will play out. For instance we can copy each scene we designed and change the color to red or green. This way the graphic operator will have the choice to play out red, green or blue graphics.
Vizrt Trio Playout
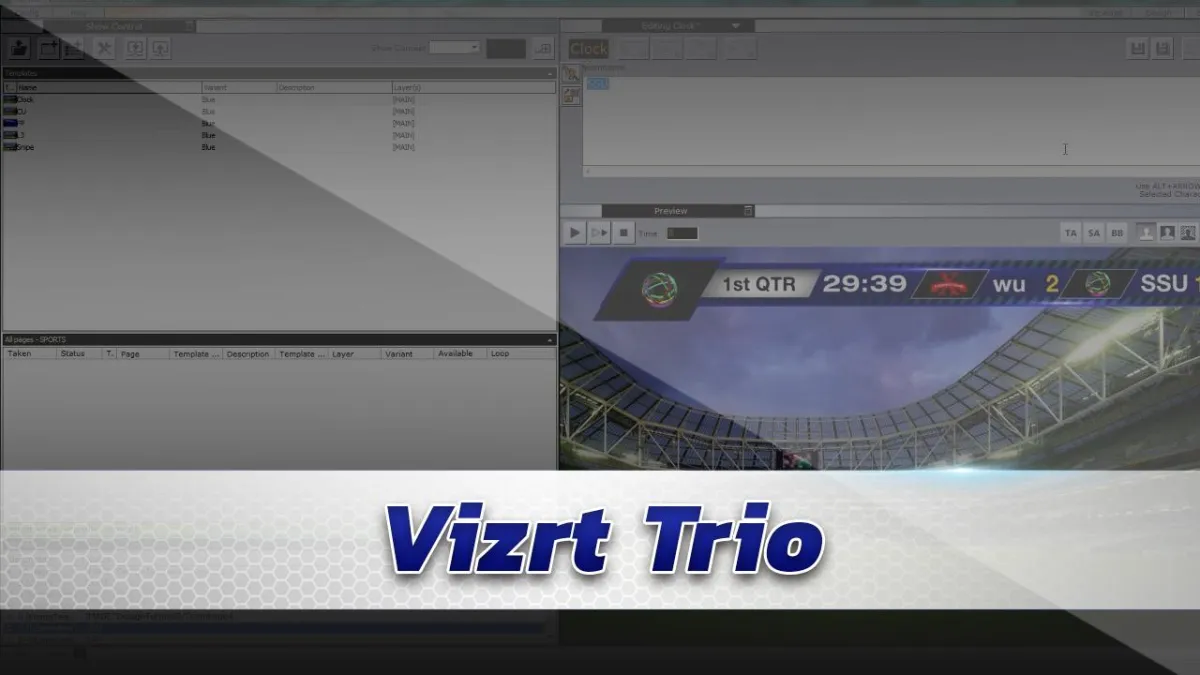
All of the graphics are designed, animated, rigged and saved off. Now it all comes together and we import the graphic package into Vizrt Trio and play them out. This tutorial will show you how to change the concepts to make sure that the blue, green and red graphics work when played out. The video will go through each graphic and demonstrate how each of the control plugins work within Trio.
